Adding A New Contact

Topic:

Adding a new contact

Learn how to add a new contact to a customer

Review the video together with the steps outlined below, then use the button provided to continue to the next topic.

  1. Open your customer and select ‘Contacts & Users’ within the treeview on the left
  2. Here you will be able to create, edit and view contacts for this customer. If you have multiple contacts, you can even use the search within ‘customers & users’ to narrow them down.
  3. Select ‘Add User’
  4. Update the title, first name, last name and job title for your user. Only the first and last name are mandatory if you don’t have the other information.
  5. Update the telephone number, mobile number and email accordingly. If you have multiple numbers or emails for a contact, you can add more by selecting the ‘add new’ underneath.
  6. Here you can also update the GDPR status, correspondence preference, emergency contact and reporting contact. These are for reference only for your team if your process requires them.
  7. The active tick box will default to ‘active’ when creating a new customer however, here is where you can make a contact inactive in future if things change.
  8. You’ll also notice the ‘Customer Portal access’ tickbox here. To learn more about how to set up customer portal access, please see our other course that covers this.
  9. Click save.
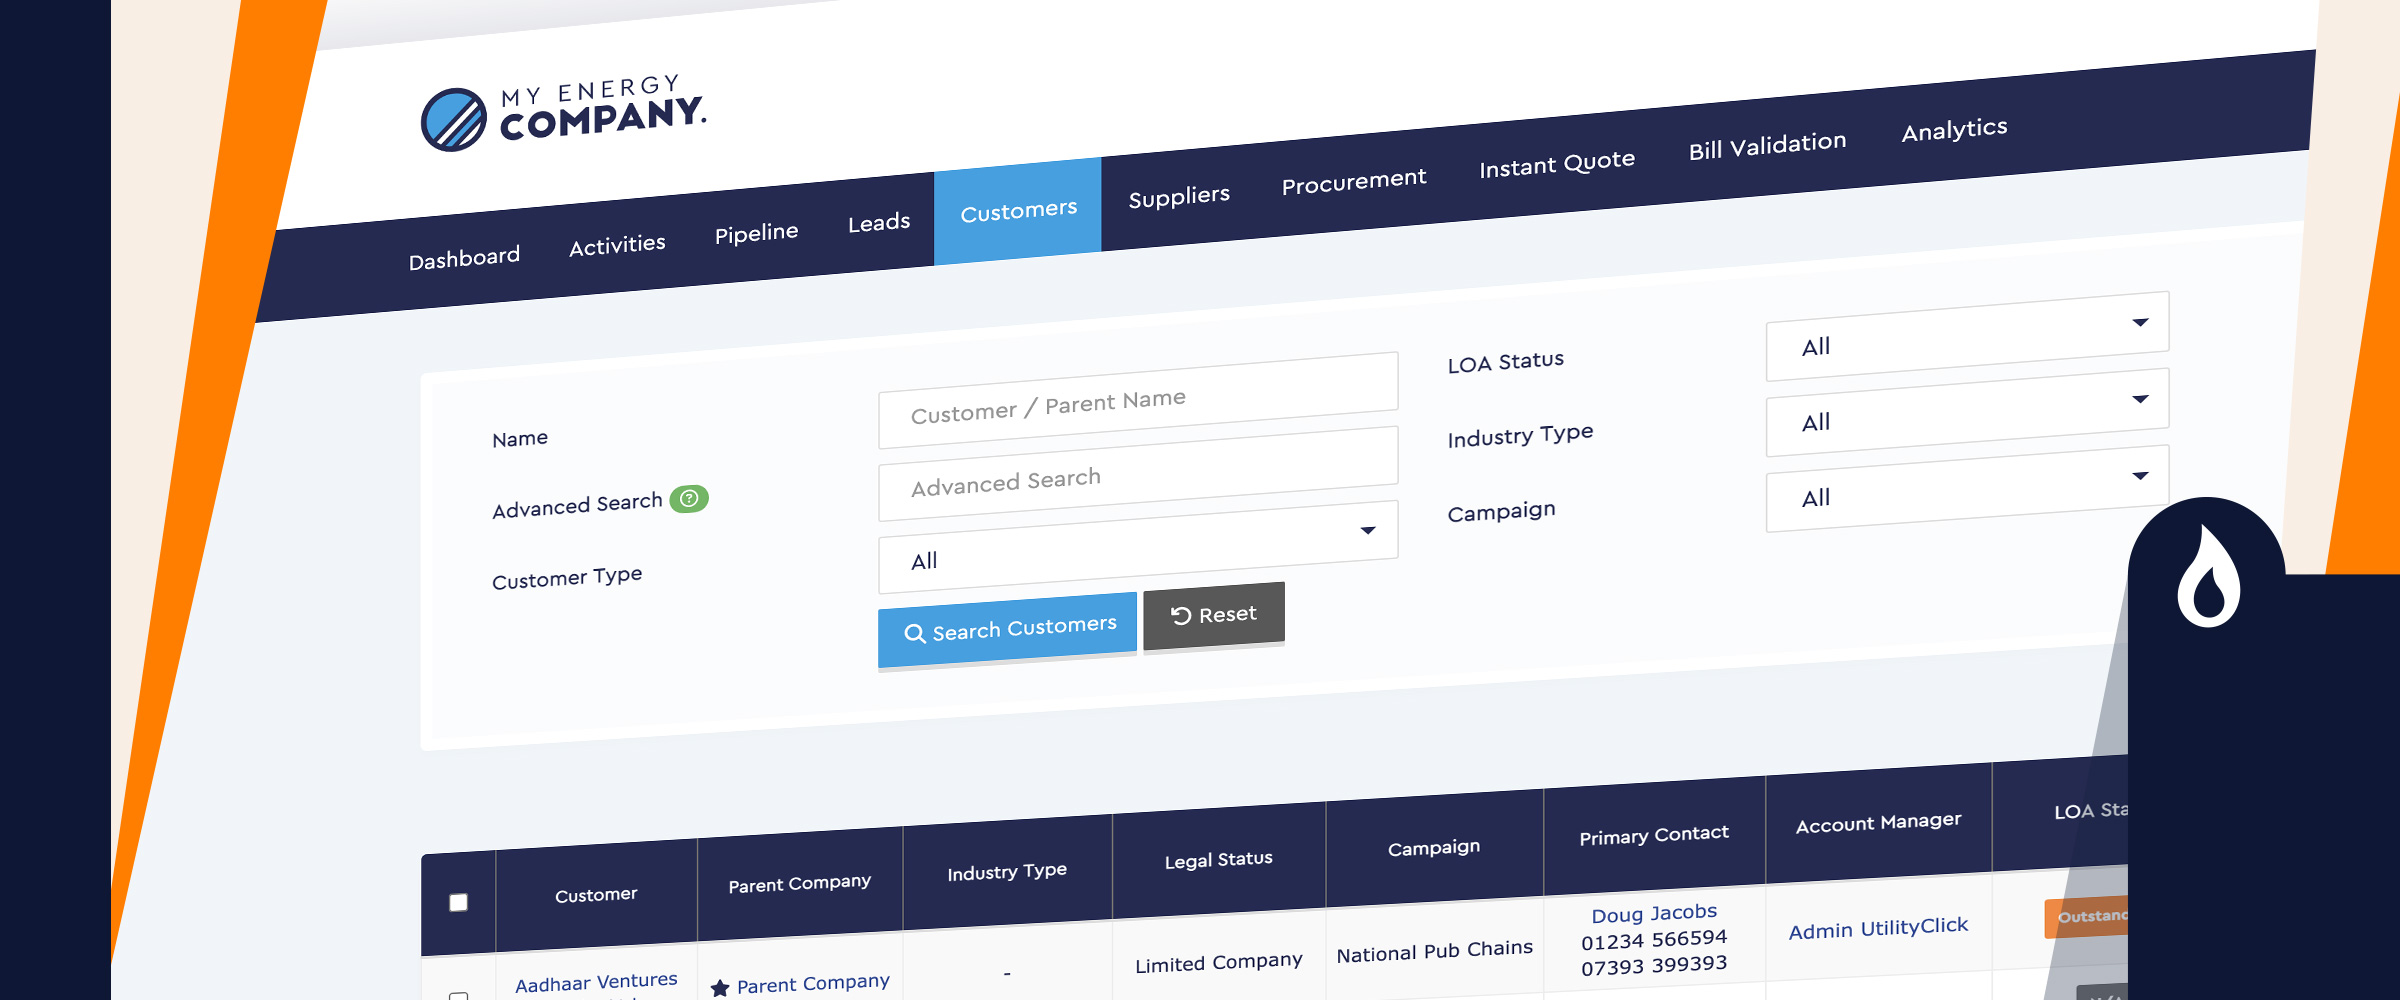
  10. Now that these have been added, you’ll also be able to search for this customer in the ‘advanced search’ under customers, should you need to.