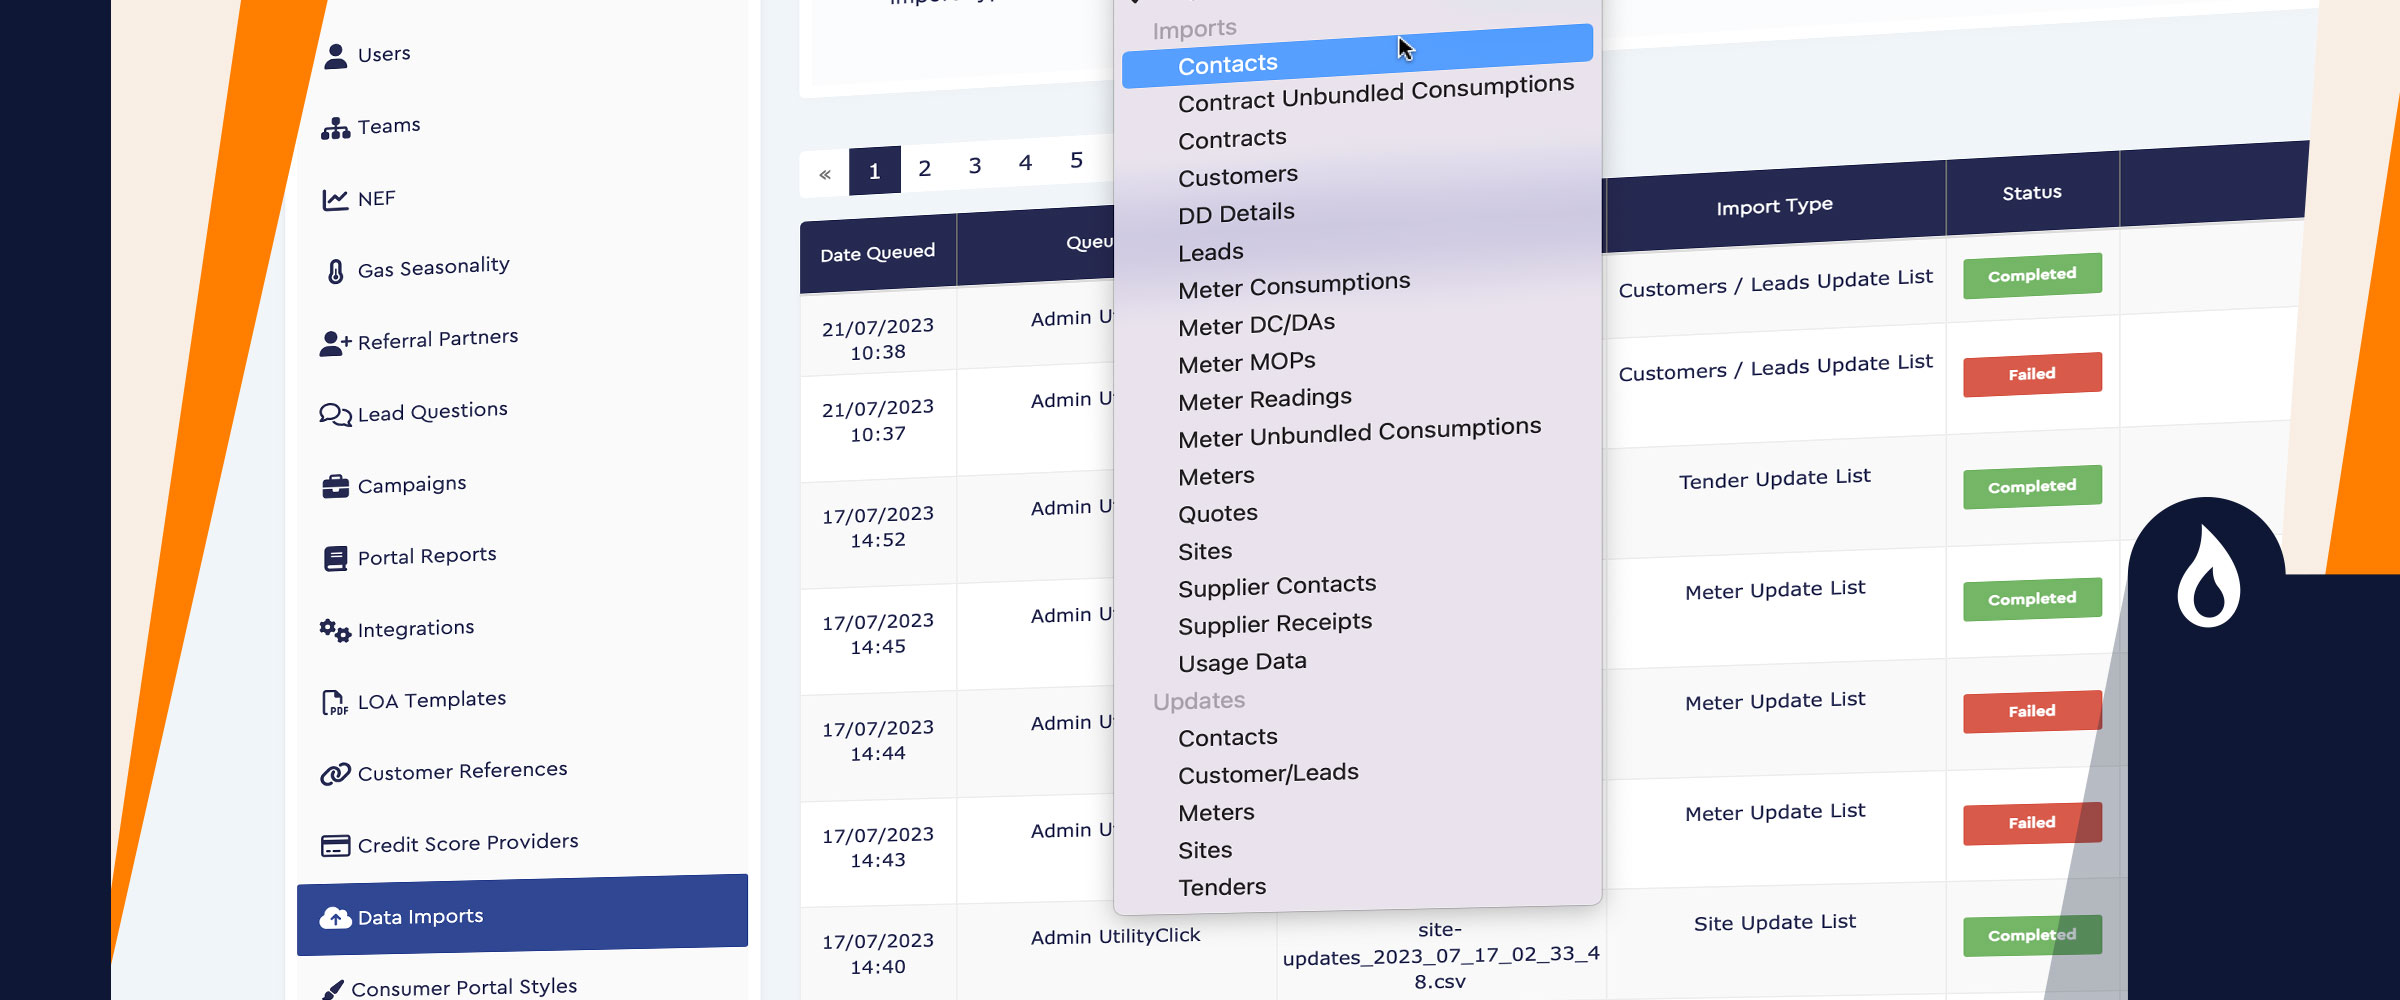
Meters

Topic:

Meters

Learn how to import Meters using data imports

Review the video together with the steps outlined below, then use the button provided to continue to the next topic.

Once you have set up a Customer or Lead and its sites in the system, you can use data imports to Load in your Meters.

  1. In the top menu bar on the right-hand side there is a menu option called ‘Admin’.
  2. You can either hover over ‘Admin’ which will show you a dropdown menu and select ‘Data Imports’ or click ‘Admin’ and a left-side menu will appear, and you can click ‘Data Imports’ from here.
  3. Click the dropdown labelled ‘Import Type’.
  4. Choose ‘Meters’ and open the downloaded Excel template.
  5. Complete the fields in the template. As a minimum, the mandatory fields for this upload are:
    • Customer Name or Id
    Site name
    • Utility
    • MPAN/MPRN/SPID
    • Annual Consumption
    • Status
    • Is the Customer a Lead?

    In addition to these, other fields will be mandatory based on the Utility you’re importing:

    If it’s NHH Meter
    • Profile
    • Meter Type

    If HH Meter
    • Available Capacity
  6. When you are happy you have filled in all important Meter data, save the spreadsheet as a CSV file.
  7. Go to Admin > Data Imports
  8. Select ‘Meters’ in the dropdown then ‘upload’.
  9. Choose File (and find the spreadsheet you saved on your computer) then click Save.
  10. If your upload is successful the status column will say ‘Completed’.
  11. If the import has failed, the import screen will show as failed. To view these failures you can select ‘go’ under actions and ‘download error log’ to find out what has specifically failed and needs amending before repeating steps 8-10.